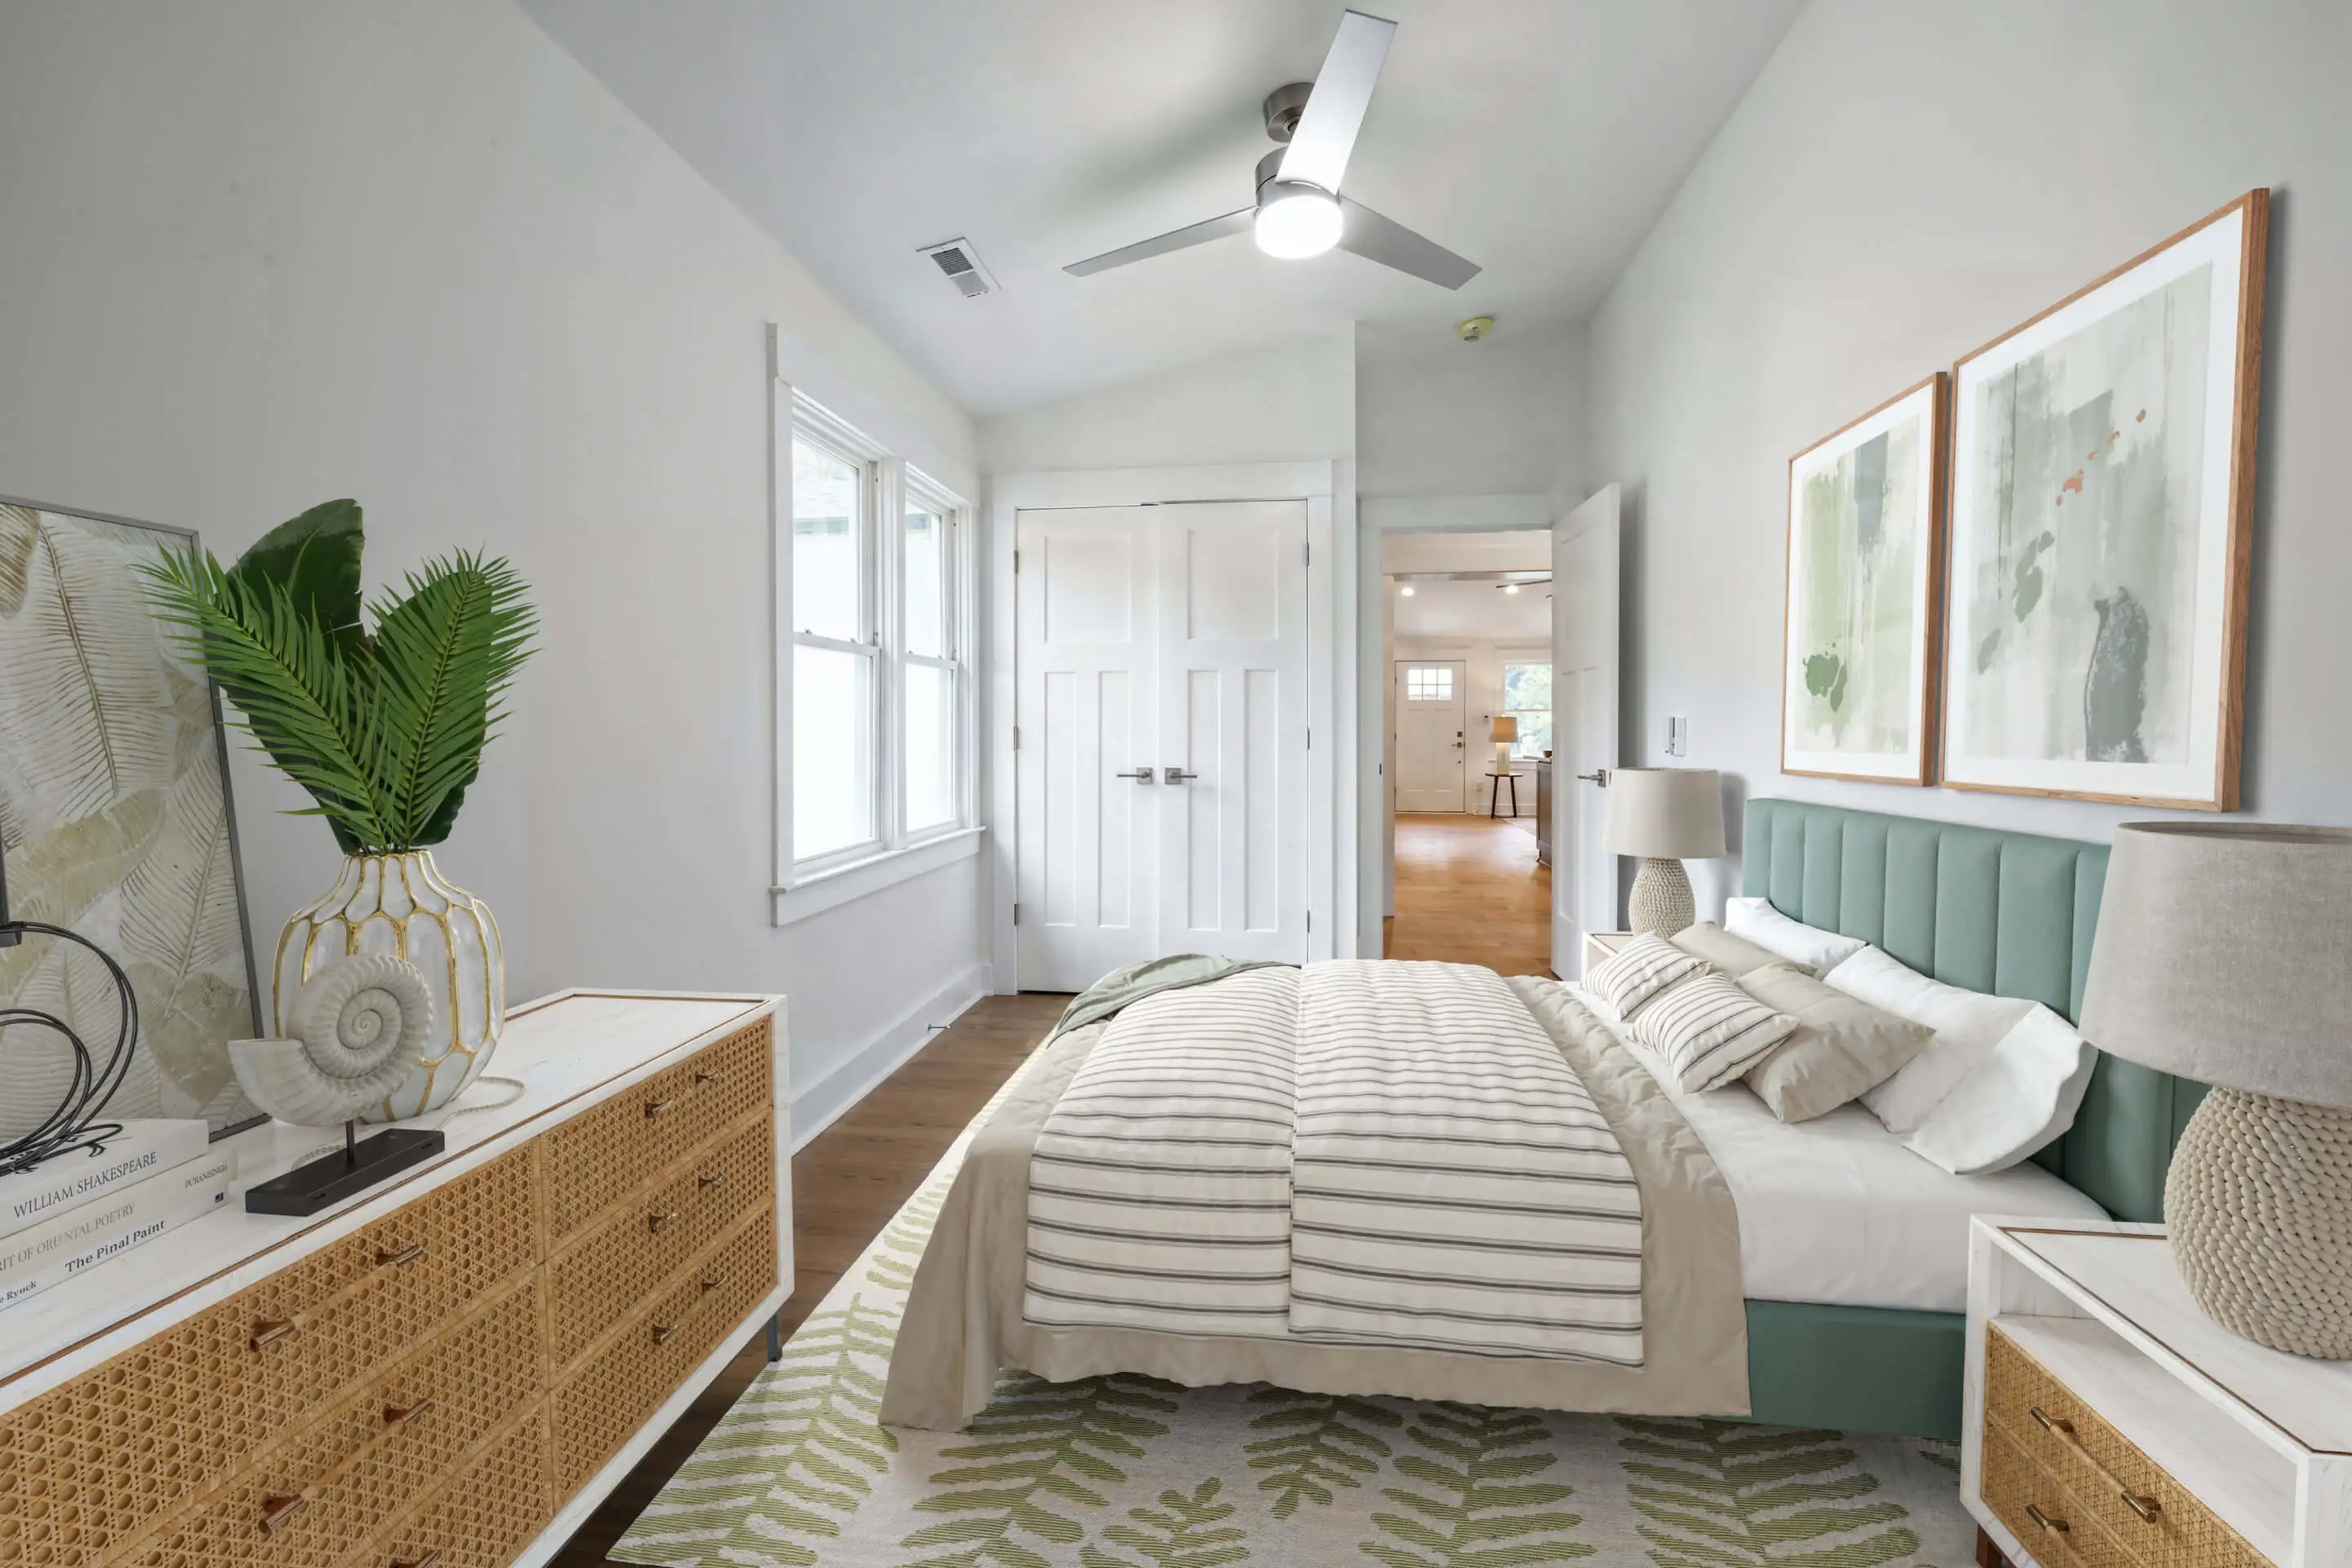
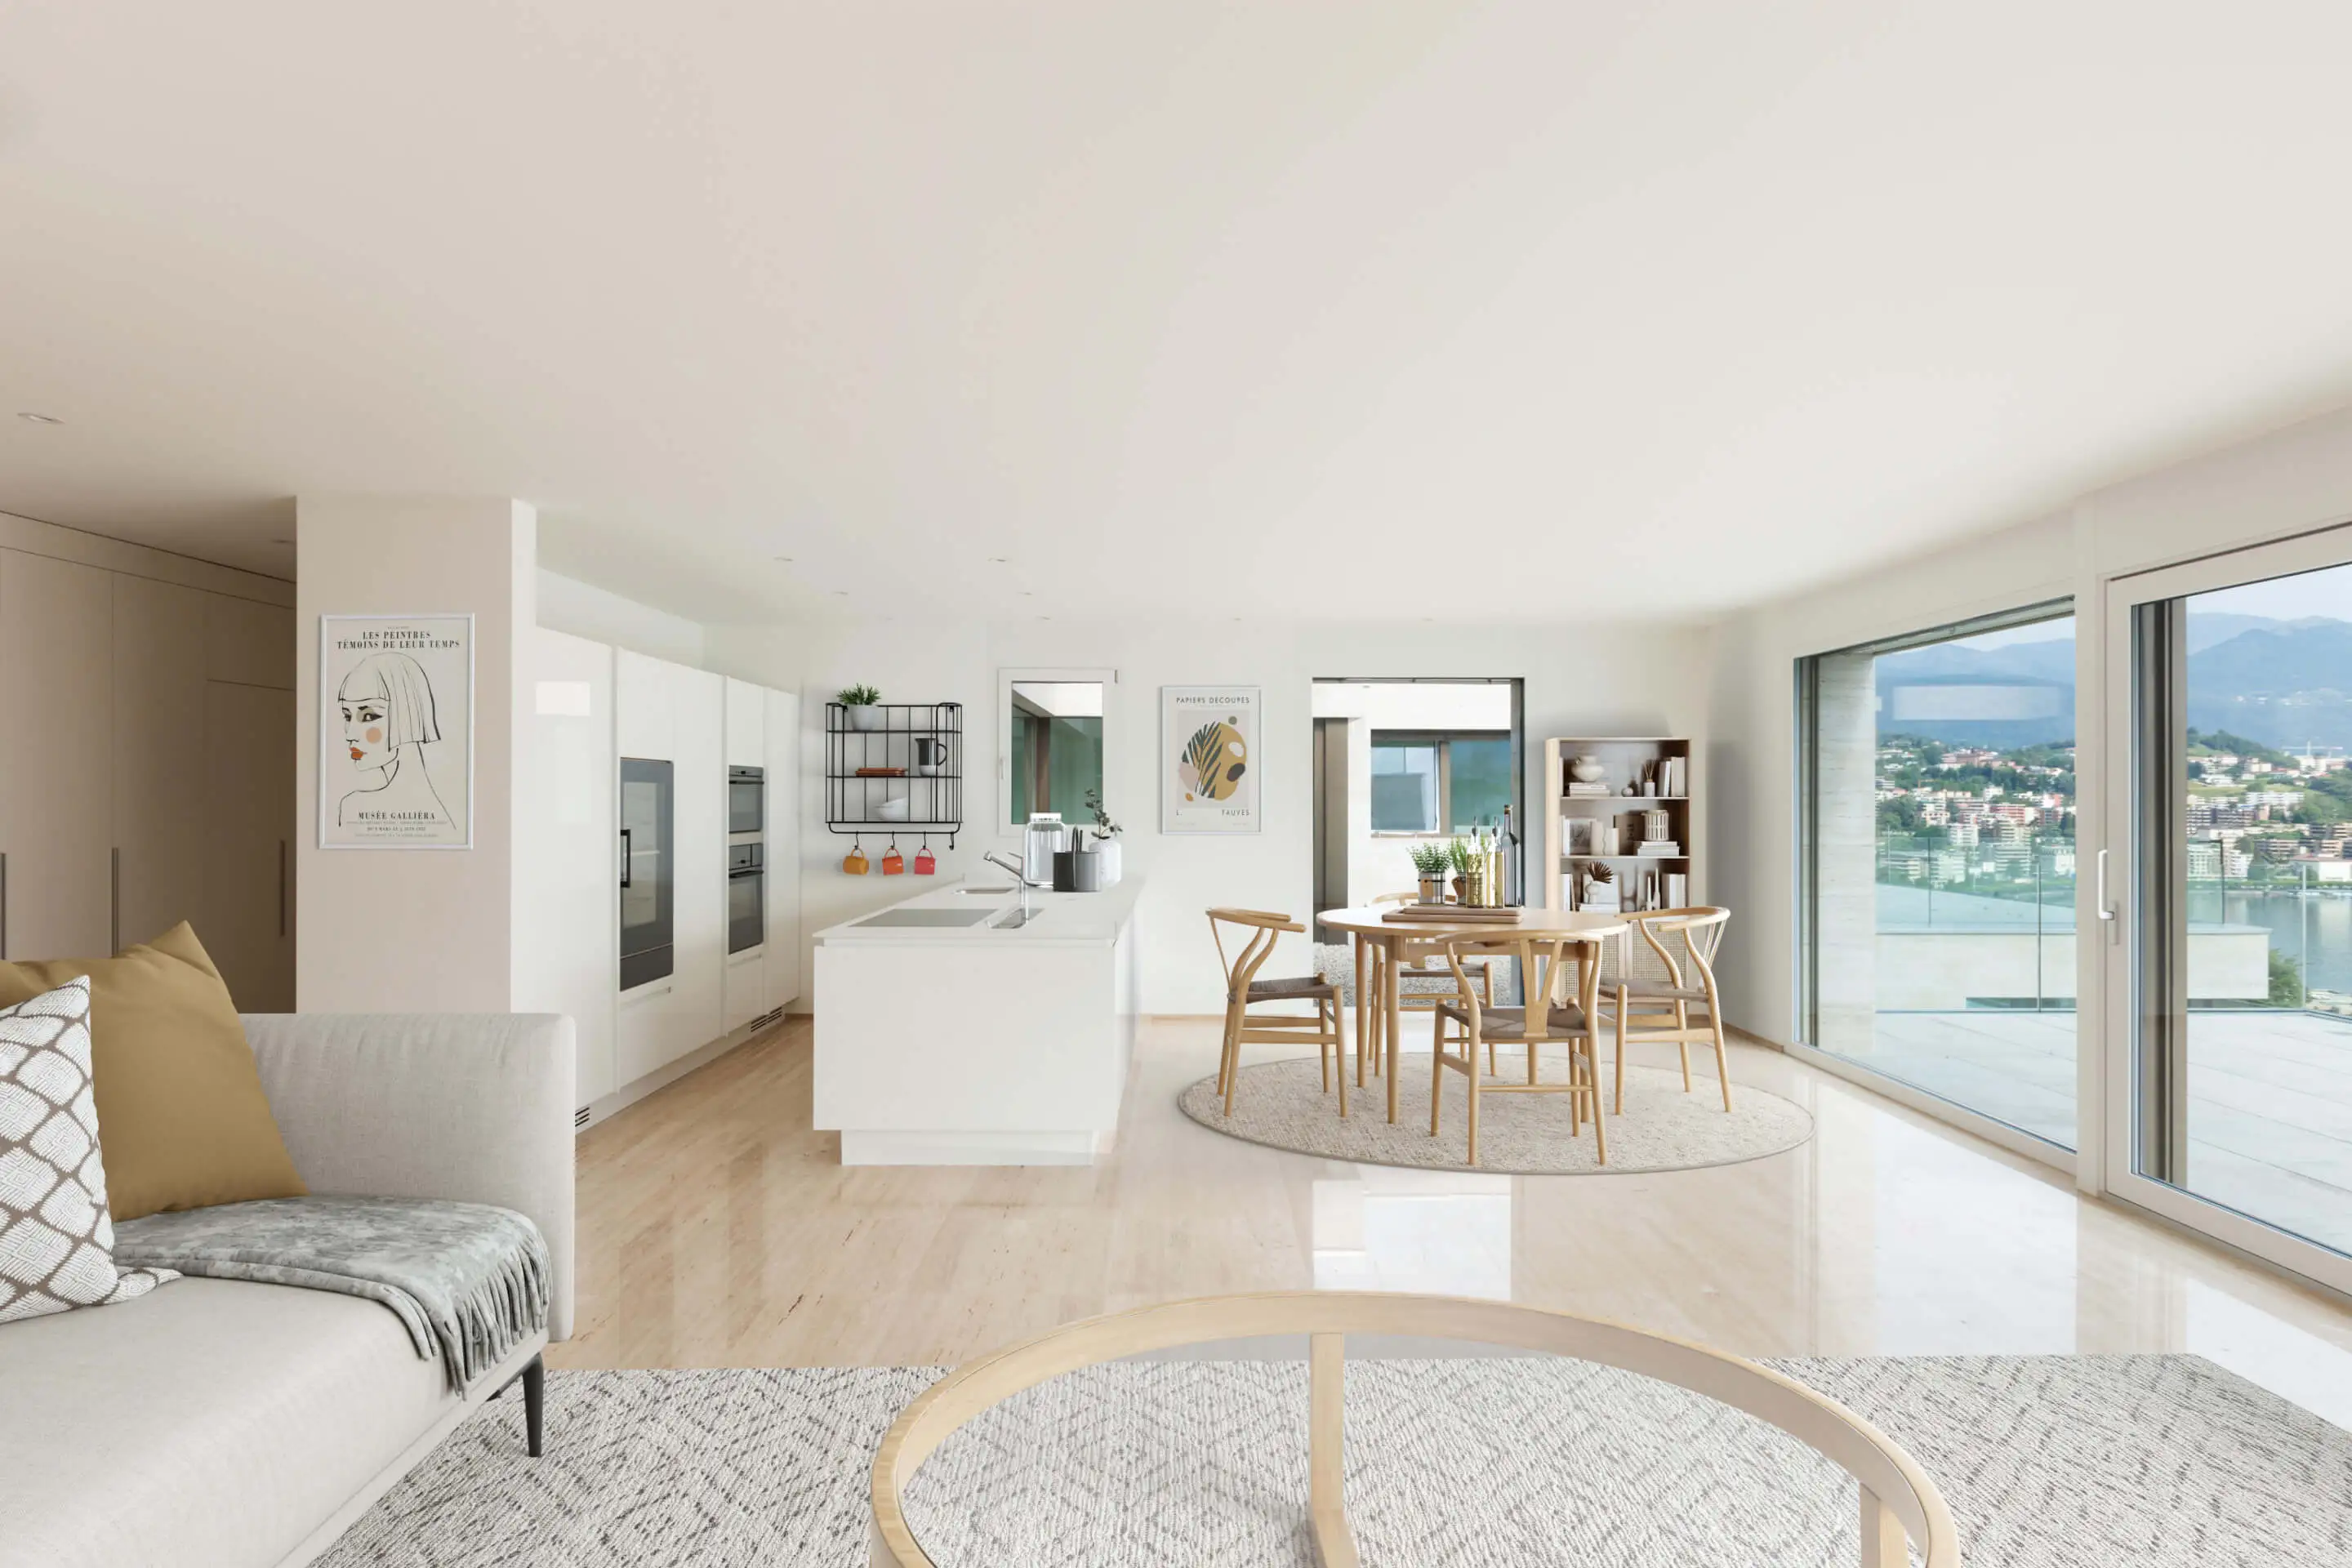
Adding furniture to a photo has become an essential technique in the real estate and interior design industries. It allows professionals to transform empty spaces into warm, inviting environments that help potential buyers or clients visualize a property's full potential. Whether you're a real estate agent looking to enhance your listings, a designer working on a project, or someone interested in home decor, mastering how to add furniture to a photo can significantly elevate your work.
In this article, I'll explore the various methods to add furniture to a photo, discuss the benefits of this technique, and provide a step-by-step guide to get you started.
Why Add Furniture to a Photo?
Before diving into the process, it’s important to understand why adding furniture to a photo is so valuable. Virtual staging, which involves digitally adding furniture and decor to a photo, has become a critical tool in real estate marketing. According to the International Association of Home Staging Professionals, “staging helps sell homes three to 30 times faster than the nonstaged competition.” Staging can also “help increase the sale price by up to 20% on average.” Here’s why adding furniture to a photo is so impactful:
- Enhance Visual Appeal: Empty rooms often appear cold and uninviting. Adding furniture to a photo makes the space feel warm, lived-in, and visually appealing to potential buyers.
- Highlight Functionality: Furniture placement can demonstrate the potential of a room, helping buyers understand the layout and how the space can be utilized.
- Save Time and Money: Traditional staging involves physically moving furniture, which can be costly and time-consuming. Virtual staging, where you add furniture to a photo digitally, is a cost-effective and efficient alternative.
- Target Specific Audiences: You can tailor the virtual furniture to match the preferences of your target market, making your property more appealing to potential buyers.
For more insights into how virtual staging can help you sell faster, check out the article "Home Staging AI: How to Add Furniture to Photos" on the Apply Design blog.
Tools to Add Furniture to a Photo
Several tools are available to help you add furniture to a photo seamlessly. Here are some of the top options:
- Apply Design:some text
- Apply Design offers an intuitive platform specifically designed for virtual staging. With a vast library of furniture and decor items, you can easily add furniture to a photo, customize the layout, and create stunning visuals. The software’s user-friendly interface is ideal for both professionals and beginners.
- Homestyler:some text
- Homestyler is a popular tool that allows users to add furniture to a photo and create photorealistic renderings. It offers a wide range of furniture from real brands, making it easy to create authentic, visually appealing spaces. Homestyler is particularly useful for those looking to produce high-quality images for their listings.
- Adobe Photoshop:some text
- Adobe Photoshop is a powerful tool that offers extensive features for adding furniture to a photo. It allows for advanced layering, lighting adjustments, and realistic integration of furniture into a space. However, Photoshop’s complexity might be challenging for beginners.
- Planner 5D:some text
- Planner 5D is a versatile tool that enables users to create 3D designs and add furniture to a photo. It’s a great option for both staging and designing entire properties, offering a vast library of furniture and decor options.
- Roomstyler 3D Home Planner:some text
- Roomstyler allows users to create 3D renderings and add furniture to photos with a simple drag-and-drop interface. It’s user-friendly and ideal for experimenting with different layouts and designs.
Step-by-Step Guide: How to Add Furniture to a Photo
Adding furniture to a photo may seem daunting at first, but with the right tools and a step-by-step approach, it can be straightforward. Here’s how you can do it:
- Choose Your Tool:some text
- Start by selecting a tool that fits your needs. If you’re new to virtual staging, a user-friendly platform like Apply Design or Homestyler might be the best choice. For more advanced users, Adobe Photoshop offers greater flexibility and control.
- Upload Your Photo:some text
- Once you’ve selected your tool, upload a high-quality photo of the room you want to stage. Ensure the photo is well-lit and taken from a good angle to showcase the space effectively.
- Select Your Furniture:some text
- Browse through the tool’s furniture library and select pieces that complement the room’s style and dimensions. Consider the target audience and choose furniture that will appeal to them. For example, modern furniture might be more appealing in urban settings, while traditional styles may be better suited for suburban homes.
- Place the Furniture:some text
- Use the tool’s drag-and-drop functionality to place the furniture in the room. Pay attention to scale and proportion, ensuring that the furniture fits well within the space. Experiment with different layouts to find the most appealing arrangement.
- Adjust Lighting and Shadows:some text
- To make the staged room look as realistic as possible, adjust the lighting and shadows to match the photo’s natural light sources. This step is crucial for creating a seamless integration of the furniture into the space.
- Review and Edit:some text
- Once you’ve added the furniture, take a moment to review the overall look. Make any necessary adjustments to ensure the room looks balanced and inviting. Less is often more in virtual staging, so avoid overcrowding the space.
- Save and Export:some text
- After you’re satisfied with the staging, save and export the final image. Use this image in your property listings, marketing materials, and social media posts to attract potential buyers.
For additional tips on maximizing the effectiveness of your virtual staging, read "Exploring the Top Virtual Staging Services: Transforming Properties with Expertise" on the Apply Design blog.
Best Practices When You Add Furniture to a Photo
To ensure that your virtual staging efforts are successful, consider these best practices:
- Use High-Quality Photos:some text
- The quality of the original photo plays a significant role in the effectiveness of virtual staging. Ensure that your photos are high-resolution, well-lit, and taken from angles that showcase the room’s best features.
- Keep It Realistic:some text
- The goal of adding furniture to a photo is to help potential buyers visualize themselves in the space. Avoid over-staging or using unrealistic furniture that doesn’t match the style of the home. Stick to furniture and decor that complement the property’s design and architecture.
- Focus on Key Areas:some text
- When staging a home virtually, focus on the key areas that have the most impact on buyers, such as the living room, kitchen, and master bedroom. Staging these areas can significantly influence a buyer’s decision.
- Stay Up-to-Date with Design Trends:some text
- Interior design trends change over time, and staying current can help your listings stand out. Consider incorporating modern, trendy pieces into your staging to appeal to contemporary buyers.
- Use a Consistent Style:some text
- Consistency is key in virtual staging. Stick to a cohesive style throughout the home to create a harmonious flow from room to room. This approach makes the property feel more inviting and well-thought-out.
-
The Future of Virtual Staging: What’s Next?
As technology continues to advance, the future of virtual staging looks promising. Innovations such as augmented reality (AR) and virtual reality (VR) are expected to take virtual staging to new heights, allowing potential buyers to interact with staged spaces in real-time. AI-powered tools will also become more sophisticated, offering personalized staging recommendations based on buyer preferences and market trends.
Conclusion
Adding furniture to a photo is a powerful tool that can significantly enhance the appeal of a property listing. By following the steps outlined in this guide and using the best tools available, you can create stunning, realistic images that attract potential buyers and help close deals faster. Whether you’re a real estate agent, interior designer, or homeowner, learning how to add furniture to a photo can elevate your marketing efforts and lead to better results.
For more information on how virtual staging can transform your real estate marketing strategy, visit Apply Design.


